-
Table of Contents
“Unlock Your Creativity: A Beginner’s Guide to Mastering Resin Casting, One Step at a Time!”
Resin casting is a captivating craft that allows beginners to create stunning, custom pieces ranging from jewelry to home decor. This step-by-step tutorial is designed to guide newcomers through the resin casting process, providing clear instructions and essential tips to ensure successful results. From selecting the right materials to mixing and pouring the resin, each stage will be covered in detail, empowering you to unleash your creativity and produce beautiful, one-of-a-kind creations. Whether you’re looking to start a new hobby or explore a unique artistic outlet, this tutorial will equip you with the knowledge and confidence to dive into the world of resin casting.
Essential Materials for Resin Casting
Resin casting is a captivating craft that allows individuals to create stunning, durable pieces of art, jewelry, and functional items. However, before embarking on this creative journey, it is crucial to gather the essential materials that will facilitate a successful casting experience. Understanding these materials not only enhances the quality of the final product but also ensures safety and efficiency throughout the process.
To begin with, the most fundamental component of resin casting is, of course, the resin itself. There are various types of resin available, but epoxy resin is the most commonly used due to its clarity, strength, and versatility. When selecting epoxy resin, it is important to choose a product that is specifically designed for casting, as this type typically has a longer working time and produces fewer bubbles. Additionally, it is advisable to check the manufacturer’s instructions regarding mixing ratios and curing times, as these factors can significantly impact the outcome of the project.
In conjunction with the resin, a hardener is required to initiate the curing process. Most epoxy resins come with a corresponding hardener, and it is essential to use the two in tandem to achieve the desired results. The mixing ratio is critical; therefore, precise measurement using a scale or graduated cups is recommended. This attention to detail will ensure that the resin cures properly, resulting in a strong and durable final product.
Moreover, it is important to consider the molds used for casting. Silicone molds are particularly popular among beginners due to their flexibility and ease of use. They allow for easy demolding once the resin has cured, minimizing the risk of damaging the finished piece. Additionally, silicone molds come in a variety of shapes and sizes, providing endless possibilities for creativity. For those looking to create custom shapes, it is also possible to make your own molds using silicone rubber.
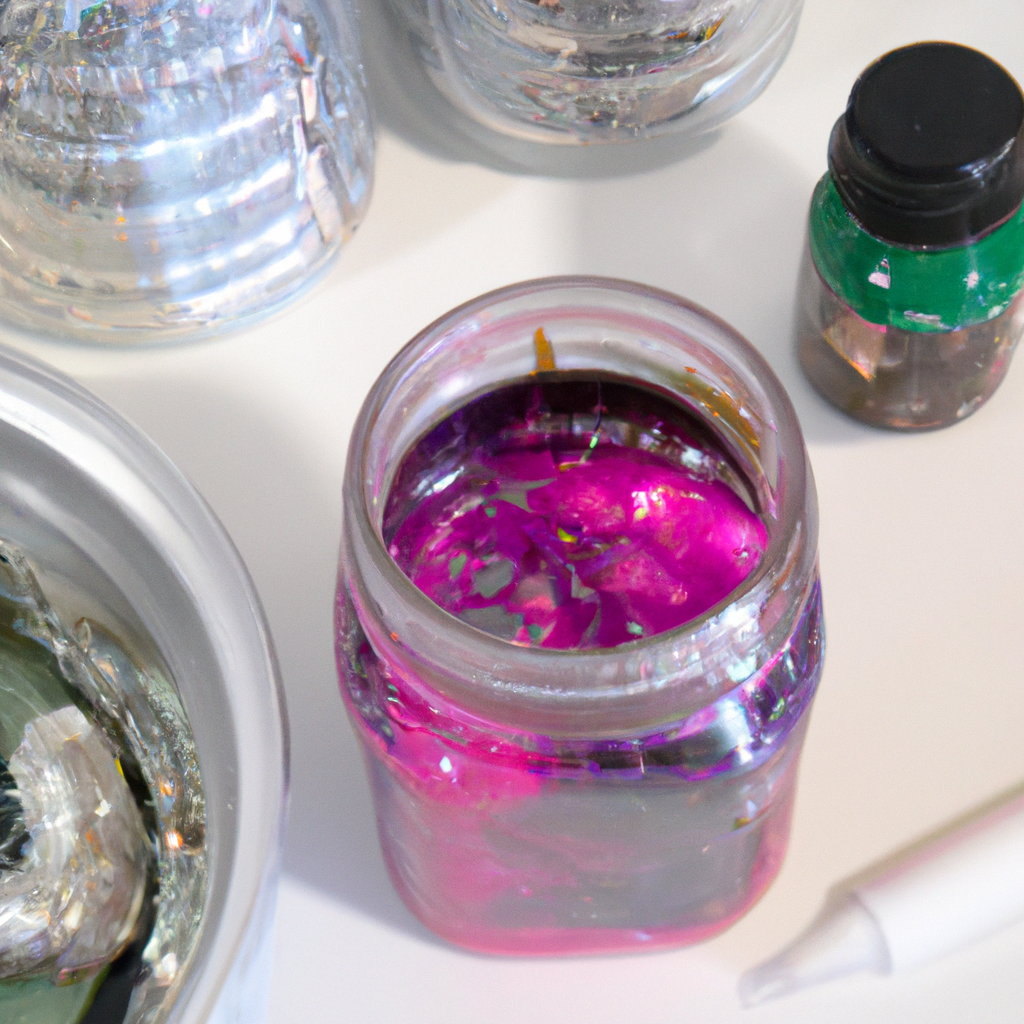
In addition to resin and molds, colorants play a significant role in enhancing the aesthetic appeal of the finished product. Pigments, dyes, and metallic powders can be added to the resin to achieve a wide range of colors and effects. It is advisable to use products specifically designed for resin, as other types of colorants may interfere with the curing process. When incorporating colorants, it is essential to start with small amounts and gradually increase until the desired hue is achieved, as this allows for better control over the final appearance.
Furthermore, safety equipment should not be overlooked. Working with resin can involve exposure to potentially harmful chemicals, so it is imperative to wear gloves, a mask, and safety goggles to protect oneself from fumes and skin contact. Additionally, working in a well-ventilated area is crucial to minimize inhalation of any harmful vapors. By prioritizing safety, beginners can focus on the creative aspects of resin casting without unnecessary concern.
Lastly, having a few additional tools on hand can greatly enhance the casting experience. Items such as mixing sticks, a heat gun or torch for bubble removal, and a scale for precise measurements are invaluable. These tools not only streamline the process but also contribute to achieving a professional finish.
In conclusion, embarking on a resin casting project requires careful consideration of essential materials. By gathering high-quality resin and hardener, selecting appropriate molds, incorporating colorants, prioritizing safety, and utilizing helpful tools, beginners can set themselves up for success. With these materials in hand, the journey into the world of resin casting can be both enjoyable and rewarding, paving the way for endless creative possibilities.
Preparing Your Workspace for Resin Casting
Preparing your workspace for resin casting is a crucial step that can significantly influence the outcome of your project. A well-organized and safe environment not only enhances your efficiency but also minimizes the risk of accidents and ensures the quality of your final product. To begin with, it is essential to select a suitable location for your resin casting activities. Ideally, this space should be well-ventilated, as the fumes from resin can be harmful if inhaled in large quantities. A garage, basement, or a dedicated craft room with windows that can be opened is often ideal. If such a space is not available, consider using a fan or an air purifier to improve air circulation.
Once you have identified the right location, the next step is to protect your surfaces. Resin can be quite messy, and spills are not uncommon, so it is advisable to cover your work area with a disposable plastic tablecloth or a silicone mat. These materials are easy to clean and will protect your surfaces from damage. Additionally, it is wise to have paper towels or rags on hand for quick clean-ups. As you prepare your workspace, ensure that you have all necessary tools and materials within reach. This includes your resin, hardener, mixing cups, stir sticks, and any molds or additives you plan to use. Having everything organized will help streamline the process and reduce the likelihood of mistakes.
Moreover, safety should be a top priority when preparing your workspace. Before you begin, make sure to wear appropriate personal protective equipment (PPE). This includes gloves to protect your hands from the resin, safety goggles to shield your eyes from splashes, and a mask if you are sensitive to fumes. It is also advisable to keep a first aid kit nearby, just in case of any minor accidents. Furthermore, ensure that your workspace is free from clutter and distractions. A clean and organized area will allow you to focus on your project without the risk of knocking over materials or tools.
In addition to physical preparations, it is important to consider the temperature and humidity of your workspace. Resin typically cures best in a warm environment, ideally between 70°F and 80°F (21°C to 27°C). If your workspace is too cold, the resin may not cure properly, leading to a tacky finish. Conversely, high humidity can also affect the curing process, potentially causing bubbles or a cloudy appearance. Therefore, it may be beneficial to use a thermometer and hygrometer to monitor these conditions, adjusting them as necessary to create an optimal environment for your resin casting.
Finally, as you finalize your workspace setup, take a moment to review your project plan. Familiarize yourself with the specific instructions for the resin you are using, as different products may have varying requirements for mixing ratios and curing times. By understanding these details, you can avoid common pitfalls and ensure a successful casting experience. In conclusion, preparing your workspace for resin casting involves careful consideration of location, safety, organization, and environmental conditions. By taking the time to set up your area properly, you will not only enhance your efficiency but also increase the likelihood of achieving beautiful and successful resin creations.
Step-by-Step Guide to Mixing and Pouring Resin
Mixing and pouring resin is a fundamental skill for anyone interested in resin art, jewelry making, or crafting functional items. To begin this process, it is essential to gather all necessary materials and tools, ensuring a smooth workflow. The primary components required include epoxy resin, hardener, mixing cups, stirring sticks, and a scale for accurate measurement. Additionally, gloves and a well-ventilated workspace are crucial for safety and comfort during the casting process.
Once all materials are assembled, the first step is to measure the resin and hardener accurately. Most epoxy resins require a specific mixing ratio, typically expressed as a volume or weight ratio. It is vital to follow the manufacturer’s instructions closely, as improper ratios can lead to incomplete curing or other issues. Using a scale for weight measurements can enhance precision, while graduated mixing cups can assist with volume measurements. After determining the required amounts, pour the resin and hardener into a mixing cup.
Next, the mixing process begins. Using a stirring stick, gently mix the two components together. It is important to stir slowly to minimize the introduction of air bubbles, which can mar the final appearance of the cast piece. Continue mixing for the recommended time, usually around three to five minutes, ensuring that the resin and hardener are thoroughly combined. Pay attention to the sides and bottom of the mixing cup, as unmixed material can lead to problems during curing. Once the mixture appears clear and uniform, it is ready for pouring.
Before pouring the resin, it is advisable to prepare the mold. Ensure that the mold is clean and dry, as any contaminants can affect the final product. If using a silicone mold, it is often unnecessary to apply a release agent, but for other materials, a light coating of mold release can facilitate easier demolding. With the mold prepared, it is time to pour the resin mixture. Begin by pouring slowly into one corner of the mold, allowing the resin to flow and fill the space without creating excessive splashes. This technique helps to minimize air bubbles and ensures an even distribution of the resin.
As the resin fills the mold, it may be necessary to manipulate the mixture slightly to ensure that it reaches all corners and edges. If bubbles do form during the pouring process, a heat gun or torch can be used to gently pass over the surface, causing the bubbles to rise and pop. However, caution is essential, as excessive heat can cause the resin to cure too quickly or create other issues. Once the mold is filled, it is crucial to allow the resin to cure undisturbed. The curing time varies depending on the specific resin used, but it typically ranges from several hours to a full day.
After the recommended curing time has elapsed, the final step is demolding. Carefully remove the cured resin from the mold, taking care not to apply excessive force that could damage the piece. At this stage, any imperfections can be sanded down or polished to achieve the desired finish. With practice, the process of mixing and pouring resin becomes more intuitive, allowing for greater creativity and experimentation in future projects. By following these steps diligently, beginners can successfully navigate the world of resin casting, creating beautiful and unique pieces that reflect their artistic vision.
Q&A
1. **What materials are needed for resin casting?**
You will need epoxy resin, hardener, mixing cups, stirring sticks, gloves, a mold, and optional colorants or additives.
2. **What is the first step in the resin casting process?**
The first step is to prepare your workspace by covering surfaces and gathering all materials to ensure a clean and organized environment.
3. **How do you cure the resin after pouring?**
After pouring the resin into the mold, allow it to cure in a dust-free environment for the recommended time, usually 24 to 72 hours, depending on the resin used.In conclusion, a step-by-step resin casting tutorial for beginners provides a comprehensive guide that simplifies the process of creating beautiful resin art. By following clear instructions on materials, safety precautions, mixing techniques, and curing times, beginners can successfully produce their own unique pieces. With practice and creativity, this tutorial empowers individuals to explore the endless possibilities of resin casting, fostering both skill development and artistic expression.