-
Table of Contents
“Unlock Your Creativity: Mastering Resin Models with the Best Primers and Techniques!”
Painting resin models requires careful preparation and the right techniques to achieve a high-quality finish. Priming is a crucial step in this process, as it enhances paint adhesion and helps to reveal any surface imperfections that need addressing. The best primers for resin models are typically acrylic-based or specifically formulated for use on plastic and resin surfaces, ensuring compatibility and optimal results. Techniques such as airbrushing, brush painting, and the use of washes and highlights can elevate the final appearance of the model. Understanding the properties of resin and the appropriate tools and materials will lead to a more successful and enjoyable painting experience.
Best Primers for Painting Resin Models
When it comes to painting resin models, selecting the right primer is crucial for achieving a smooth and durable finish. Primers serve as a preparatory layer that enhances paint adhesion, ensuring that the subsequent layers of paint adhere properly to the surface of the resin. Given the unique properties of resin, which can sometimes be slick or glossy, choosing a primer that effectively grips the material is essential. Among the various options available, several primers stand out for their effectiveness and compatibility with resin.
One of the most popular choices among hobbyists is the acrylic-based primer. Acrylic primers are known for their versatility and ease of use. They dry quickly, allowing for faster project completion, and they can be thinned with water or acrylic medium if necessary. Additionally, acrylic primers are available in a variety of finishes, including matte, satin, and gloss, enabling artists to select a finish that best suits their painting style. When applying acrylic primer, it is advisable to use a spray can or an airbrush for an even coat, as this method minimizes the risk of brush strokes and ensures a smooth surface.
Another excellent option is the polyurethane primer, which offers superior adhesion and durability. This type of primer is particularly beneficial for resin models that will be subjected to handling or display, as it provides a robust foundation that resists chipping and peeling. Polyurethane primers can be more challenging to work with due to their longer drying times and the need for proper ventilation during application. However, the results are often worth the extra effort, as they create a resilient surface that enhances the overall longevity of the paint job.
For those seeking a more specialized solution, epoxy primers are also available. These primers are known for their exceptional bonding properties and are particularly effective on slick surfaces like resin. Epoxy primers create a chemical bond with the resin, ensuring that the paint adheres firmly. However, they require careful application and often necessitate a two-part mixing process, which can be daunting for beginners. Despite this complexity, epoxy primers are favored by advanced modelers who prioritize durability and performance.
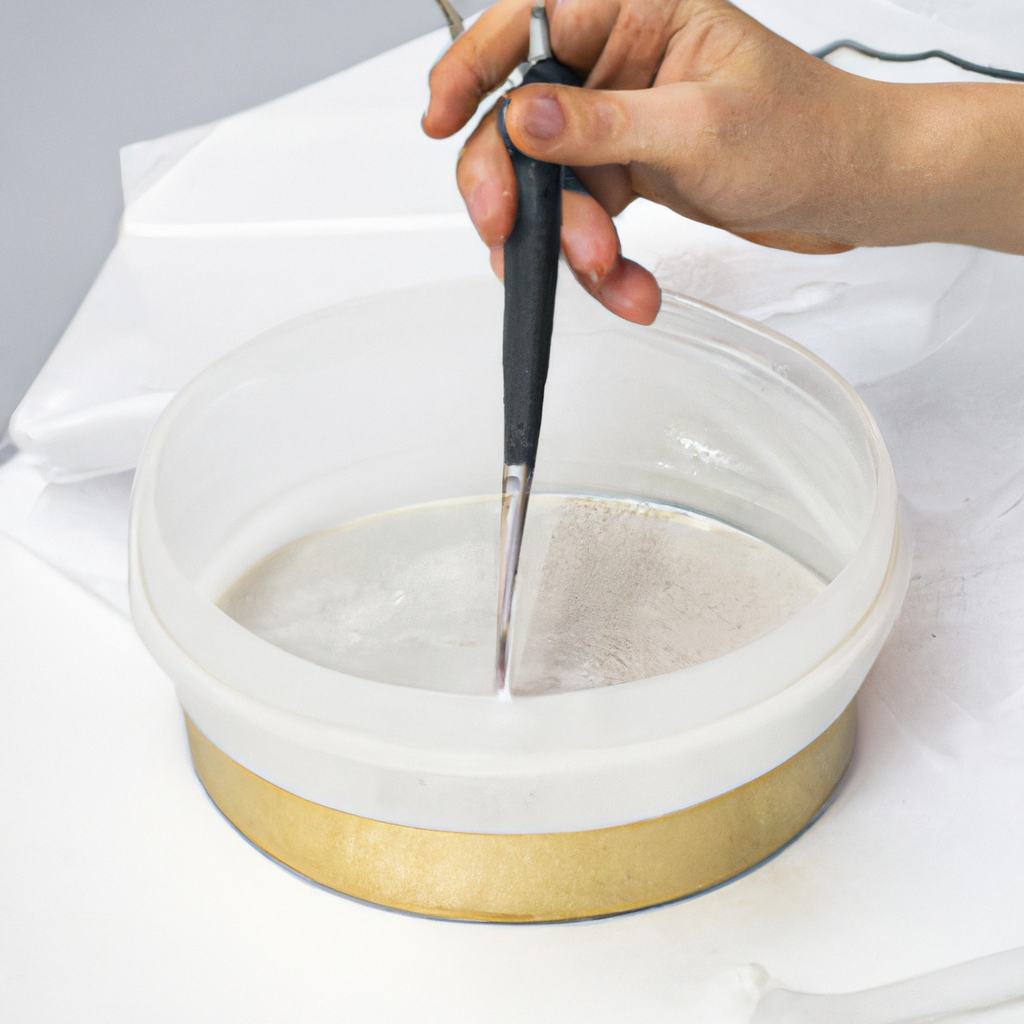
In addition to selecting the right primer, proper surface preparation is equally important. Before applying any primer, it is advisable to clean the resin model thoroughly to remove any mold release agents or dust that may interfere with adhesion. A gentle wash with warm soapy water followed by a rinse and thorough drying can significantly improve the primer’s effectiveness. Furthermore, lightly sanding the surface with fine-grit sandpaper can create a texture that enhances the primer’s grip, leading to a more successful paint application.
Once the primer has been applied and allowed to cure fully, the model is ready for painting. It is essential to apply the paint in thin layers, allowing each layer to dry before adding the next. This technique not only prevents drips and runs but also allows for better control over the final appearance. Ultimately, the choice of primer and the techniques employed during the painting process can significantly influence the quality of the finished resin model. By investing time in selecting the appropriate primer and preparing the surface correctly, hobbyists can achieve stunning results that showcase their artistic skills and attention to detail.
Essential Techniques for Painting Resin Models
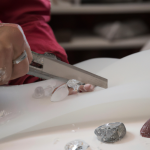
Painting resin models requires a careful approach to ensure that the final result is both aesthetically pleasing and durable. To achieve this, several essential techniques must be employed, starting with surface preparation. Before any paint is applied, it is crucial to clean the resin model thoroughly. This step removes any release agents or dust that may have accumulated during the manufacturing process. A simple wash with warm, soapy water followed by a rinse and thorough drying will suffice. Once the model is clean, the next step is to inspect it for any imperfections, such as mold lines or flash. These can be easily removed with a sharp hobby knife or fine sandpaper, ensuring a smooth surface for painting.
After preparing the surface, the application of primer becomes essential. Primers serve multiple purposes; they enhance paint adhesion, provide a uniform base color, and help to reveal any remaining imperfections that may need attention. When selecting a primer, it is important to choose one that is compatible with resin. Acrylic primers are often recommended due to their versatility and ease of use. Applying the primer can be done using a spray can or an airbrush, depending on the level of detail required and the size of the model. A light, even coat is ideal, as it prevents the primer from obscuring fine details. Once the primer has dried, it is advisable to inspect the model again, as this is the perfect opportunity to address any flaws that may have been hidden before.
With the primer in place, the painting process can begin. It is beneficial to use high-quality acrylic paints, as they offer excellent coverage and are less likely to damage the resin compared to solvent-based paints. When painting, it is advisable to work in thin layers, allowing each layer to dry before applying the next. This technique not only prevents the paint from pooling in crevices but also allows for better control over color intensity and shading. Additionally, using a wet palette can help maintain the paint’s moisture, making it easier to blend colors and achieve smooth transitions.
As the painting progresses, the use of washes and glazes can enhance the model’s depth and detail. A wash, typically a thinned-down paint, is applied to recesses to create shadows, while glazes can be used to add subtle color variations or highlights. These techniques can significantly elevate the overall appearance of the model, making it more visually striking. Furthermore, dry brushing is another effective technique that can be employed to highlight raised surfaces. By using a dry brush with minimal paint, the raised areas can be accentuated, adding texture and dimension.
Once the painting is complete, sealing the model is a crucial final step. A clear coat, whether matte, satin, or gloss, protects the paint from wear and tear while also enhancing the overall finish. The choice of finish depends on the desired look; for instance, a gloss finish may be suitable for certain sci-fi models, while a matte finish may be more appropriate for historical figures. Applying the clear coat should be done in light, even layers to avoid obscuring any details.
In conclusion, painting resin models is a meticulous process that requires attention to detail and the use of specific techniques. From thorough cleaning and priming to careful layering of paint and finishing with a protective coat, each step plays a vital role in achieving a high-quality result. By following these essential techniques, hobbyists can create stunning resin models that showcase their skills and creativity.
Common Mistakes to Avoid When Priming Resin Models
When it comes to painting resin models, the priming stage is crucial for achieving a smooth and durable finish. However, many hobbyists, especially those new to the craft, often encounter common pitfalls that can hinder their results. Understanding these mistakes and how to avoid them can significantly enhance the quality of your painted models.
One of the most frequent errors is neglecting to clean the resin before priming. Resin models often come with a release agent that can interfere with paint adhesion. Failing to wash the model with warm soapy water can lead to peeling or flaking paint down the line. Therefore, it is essential to thoroughly clean the surface using a soft brush or cloth to remove any residues. After washing, ensure the model is completely dry before proceeding to the priming stage.
Another common mistake is applying primer too thickly. While it may seem logical to cover the model in a single heavy coat, this approach can obscure fine details and lead to an uneven surface. Instead, it is advisable to apply several thin layers of primer, allowing each coat to dry before adding the next. This technique not only preserves the intricate details of the model but also promotes better adhesion of subsequent paint layers.
In addition to thickness, the choice of primer can also impact the final outcome. Many hobbyists mistakenly use the wrong type of primer for resin models. While some primers are designed for plastic or metal, resin requires a specific formulation that adheres well to its surface. It is recommended to use an acrylic or lacquer-based primer specifically labeled for use on resin. This ensures compatibility and enhances the overall durability of the paint job.
Temperature and humidity are also critical factors that can affect the priming process. Many hobbyists overlook the environmental conditions in which they are working. Priming in excessively humid or cold environments can lead to poor adhesion and a longer drying time. Ideally, the priming should be done in a well-ventilated area with a stable temperature, typically between 65°F and 75°F (18°C to 24°C). Monitoring these conditions can help achieve a more consistent and effective primer application.
Moreover, some individuals rush the priming process, eager to move on to painting. This impatience can lead to applying paint over a primer that has not fully cured. Each primer has its own drying time, and it is crucial to adhere to the manufacturer’s recommendations. Skipping this step can result in a compromised finish, as the paint may lift or bubble when applied over an insufficiently cured primer.
Lastly, failing to test the primer on a small area or a spare piece of resin can be a costly oversight. This simple step allows you to assess how the primer interacts with the resin and whether it achieves the desired finish. Testing can also help identify any potential issues, such as reactions between the primer and the resin, before committing to the entire model.
In conclusion, avoiding these common mistakes when priming resin models can significantly improve the quality of your painting projects. By taking the time to clean the model, applying thin layers of the appropriate primer, considering environmental conditions, allowing adequate drying time, and conducting tests, hobbyists can achieve a professional-looking finish that enhances the overall appearance of their resin models. With careful attention to these details, the priming process can become a rewarding and successful part of your painting journey.
Q&A
1. **What is the best type of primer for painting resin models?**
The best type of primer for painting resin models is an acrylic-based primer, as it adheres well to the smooth surface of resin and provides a good base for paint.
2. **Should I thin my primer before applying it to resin models?**
Yes, thinning the primer with a suitable medium (like water or a specific thinner) can help achieve a smoother application and prevent clogging of details.
3. **What technique is recommended for applying paint to resin models?**
A recommended technique is to use an airbrush for an even coat, starting with light layers and building up to the desired opacity, while ensuring proper ventilation and safety measures.When painting resin models, using the right primer is crucial for ensuring proper paint adhesion and achieving a smooth finish. Best primers for resin include acrylic-based primers, which provide excellent coverage and flexibility, and specialized resin primers that enhance paint adherence. Techniques such as thorough cleaning of the resin surface, applying thin layers of primer, and allowing adequate drying time are essential for optimal results. Ultimately, selecting the appropriate primer and employing effective painting techniques will enhance the overall quality and durability of the finished model.